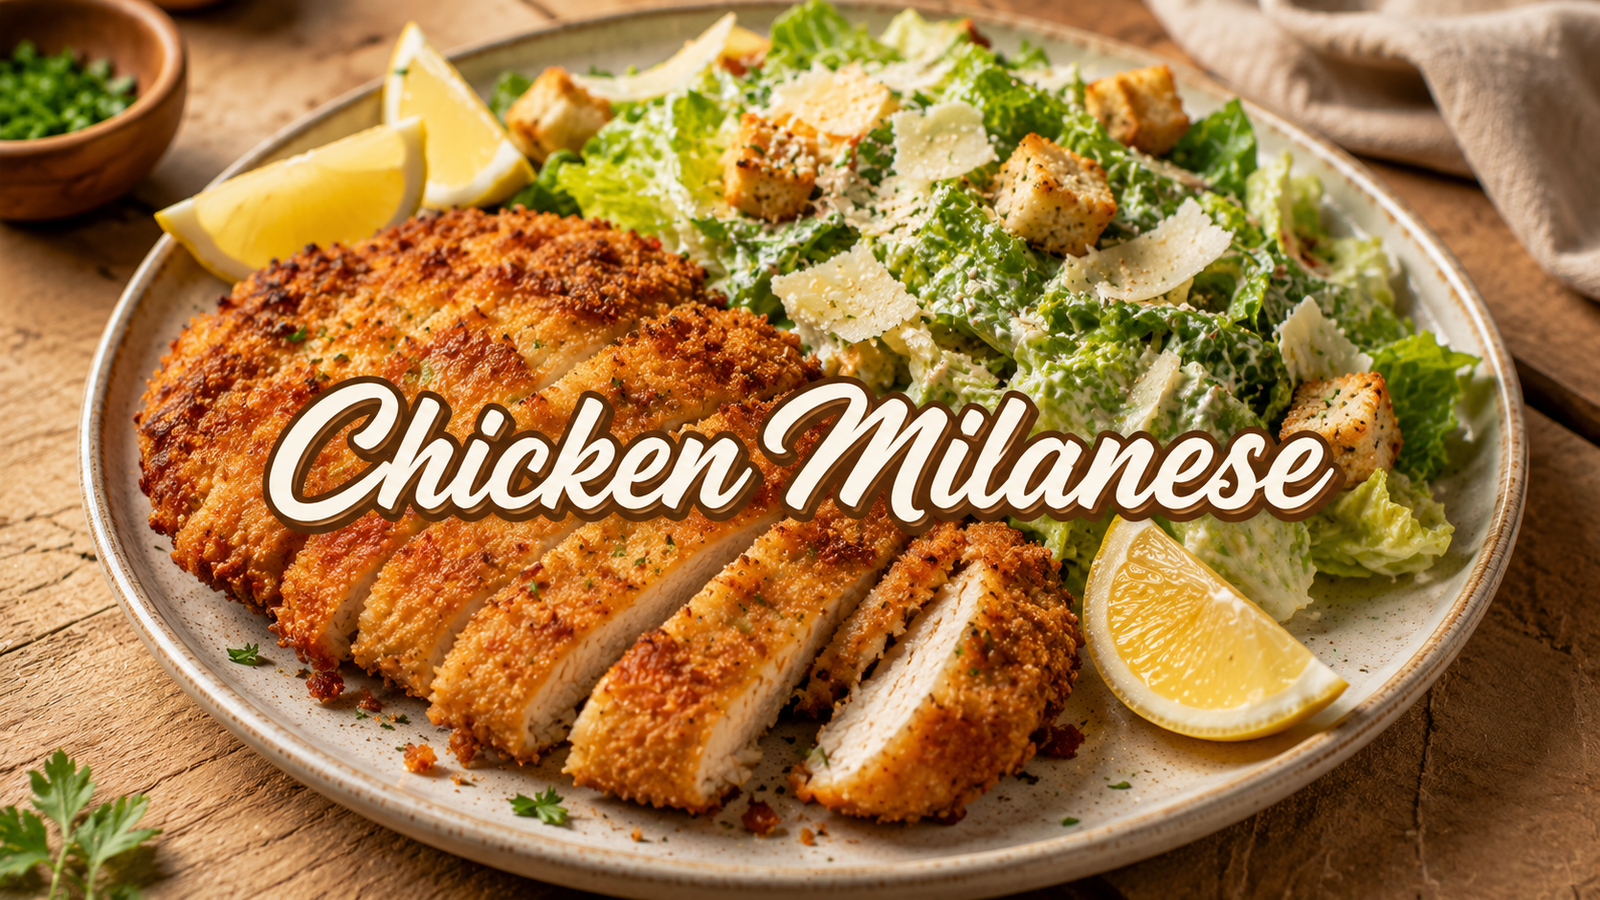
Golden, crispy chicken, tender juicy meat, and a cool, creamy Caesar salad make this Chicken Milanese a dinner that feels special without being difficult.
Thin chicken cutlets are coated in seasoned breadcrumbs, pan-fried until beautifully crisp, then served with a fresh Caesar salad. The contrast is the best part: crunchy chicken against crisp lettuce, creamy dressing, salty Parmesan, and a bright squeeze of lemon.
This recipe is designed for home cooks who want a restaurant-style meal without complicated techniques. The chicken cooks quickly because it is pounded thin, and the Caesar salad can be prepared while the chicken is frying.
Chicken Milanese is also flexible enough for a busy weeknight. Serve it as a complete meal, or add a simple side such as roasted vegetables, fluffy rice, or crusty bread.
Ingredients
For the Chicken Milanese
- 2 large boneless, skinless chicken breasts, about 450 g (1 lb) total
- 1/2 teaspoon salt
- 1/4 teaspoon black pepper
- 1/2 teaspoon garlic powder
- 1/2 teaspoon paprika
- 1/2 cup (60 g) all-purpose flour
- 2 large eggs
- 1 tablespoon water
- 1 cup (100 g) plain breadcrumbs
- 1/3 cup (30 g) finely grated Parmesan cheese
- 1 tablespoon chopped fresh parsley
- 1/2 teaspoon dried Italian seasoning
- 1/4 cup (60 ml) olive oil, plus more if needed for frying
- 1 lemon, cut into wedges
For the Caesar Salad
- 1 large romaine lettuce, about 300 g (10 oz), washed and thoroughly dried
- 1/3 cup (30 g) finely grated Parmesan cheese
- 1/2 cup (60 g) plain croutons
For the Caesar Dressing
- 1/3 cup (75 g) mayonnaise
- 2 tablespoons finely grated Parmesan cheese
- 1 tablespoon fresh lemon juice
- 1 teaspoon Dijon mustard
- 1 small garlic clove, finely grated or minced
- 1 tablespoon extra-virgin olive oil
- 1 to 2 tablespoons water, as needed
- 1/8 teaspoon salt
- 1/8 teaspoon black pepper
Tools and Equipment
- Large cutting board
- Meat mallet or rolling pin
- Three shallow bowls
- Large skillet
- Tongs
- Paper towels
- Large salad bowl
- Small bowl or jar for dressing
- Instant-read thermometer, optional but helpful
How to Make Chicken Milanese with Caesar Salad
1. Prepare the chicken
Place each chicken breast on a cutting board. Slice each breast horizontally through the middle to create thinner pieces.
Cover the chicken with a sheet of plastic wrap or parchment paper. Gently pound each piece until it is about 1/4 inch thick.
Thin chicken cooks quickly and evenly, which helps create a crisp coating without overcooking the center.
Pat the chicken dry with paper towels.
2. Season the chicken
Sprinkle both sides of the chicken with salt, black pepper, garlic powder, and paprika.
Rub the seasonings gently over the surface so every bite has a little savory flavor.
3. Set up the breading station
Place the flour in one shallow bowl.
In a second bowl, whisk the eggs with 1 tablespoon of water until smooth.
In a third bowl, combine the breadcrumbs, Parmesan, parsley, and Italian seasoning.
Keep the bowls close together so the chicken can move easily from one coating to the next.
4. Coat the chicken
Dip one piece of chicken into the flour. Turn it over and shake off any excess.
Next, dip it into the beaten egg. Let the extra egg drip back into the bowl.
Finally, press the chicken firmly into the breadcrumb mixture. Turn it over and gently press again so the coating sticks well.
Place the coated chicken on a clean plate and repeat with the remaining pieces.
For an extra-crispy chicken Milanese, avoid letting the breaded pieces sit directly on top of each other.
5. Prepare the Caesar dressing
Add mayonnaise, Parmesan, lemon juice, Dijon mustard, garlic, olive oil, salt, and black pepper to a small bowl.
Whisk until smooth and creamy.
Add 1 tablespoon of water and whisk again. Add another tablespoon only if needed to reach a pourable but thick consistency.
Taste the dressing. Add a little more lemon juice if a brighter flavor is preferred.

6. Prepare the salad
Cut the romaine lettuce into bite-sized pieces.
Place it in a large bowl and add the Parmesan and croutons.
Do not add the dressing yet. Keeping the lettuce dry until shortly before serving helps preserve its crisp texture.
7. Heat the skillet
Place a large skillet over medium heat.
Add the olive oil and allow it to heat for about 1 to 2 minutes.
The oil should shimmer but should not smoke. If a small breadcrumb sizzles immediately when dropped into the oil, the skillet is ready.
8. Fry the chicken
Carefully place the breaded chicken into the hot skillet.
Cook for about 3 to 4 minutes on the first side, or until the underside is golden brown and crisp.
Turn the chicken with tongs and cook the second side for another 3 to 4 minutes.
The exact cooking time depends on the thickness of the chicken.
The chicken should reach an internal temperature of 165°F (74°C) at the thickest point.
9. Drain the chicken
Transfer the cooked chicken to a plate lined with paper towels.
Let it rest for about 2 minutes before serving.
Avoid covering the chicken tightly with foil. Trapped steam can soften the crunchy breadcrumb coating.
10. Dress the Caesar salad
Add the Caesar dressing to the romaine just before serving.
Toss gently until the lettuce is lightly coated.
Add the croutons at the end if an especially crunchy texture is desired.
11. Serve
Place one crispy chicken cutlet on each plate.
Add a generous portion of Caesar salad alongside it.
Finish the chicken with freshly grated Parmesan and a squeeze of lemon.
Serve immediately while the chicken is warm and crunchy and the salad is cool and crisp.
Tips & Variations
Pound the chicken evenly
Even thickness is one of the most important details in this recipe.
If one end is much thicker than the other, the thin part can become dry before the thick part is fully cooked.
Use gentle, even strokes with a meat mallet or rolling pin.
Dry the chicken first
Moisture on the surface can make the breading slide off.
Pat the chicken dry before seasoning and breading for a coating that stays attached during frying.
Press the breadcrumbs firmly
A light coating can become patchy while cooking.
Gently press the breadcrumb mixture onto both sides of the chicken. This creates a more even, crunchy crust.
Do not overcrowd the skillet
Cook the chicken in batches if necessary.
Too many pieces in the pan can lower the oil temperature, leading to pale and greasy breading instead of a crisp golden crust.
Keep the heat moderate
High heat can brown the breadcrumbs too quickly while leaving the chicken undercooked.
Medium heat gives the coating enough time to become crisp while the chicken cooks through.
Use freshly grated Parmesan
Freshly grated Parmesan melts into the breadcrumb mixture more naturally and gives the crust a rich, savory taste.
Pre-grated Parmesan can still work, but freshly grated cheese usually gives better texture.
Make it extra lemony
For a brighter version, add a little extra lemon juice to the Caesar dressing.
A few drops of fresh lemon over the finished chicken also cut through the richness of the crispy coating.
Make a lighter version
For a lighter meal, reduce the olive oil slightly and cook the breaded chicken in a well-heated nonstick skillet.
The coating may not become quite as deeply golden as traditional pan-fried chicken, but it can still be crisp and flavorful.
Try panko breadcrumbs
Plain breadcrumbs create a classic fine coating.
Panko breadcrumbs produce a chunkier, crunchier crust. For the crispiest result, substitute panko for the plain breadcrumbs.
Add a fresh topping
A simple tomato and arugula topping can be spooned over the chicken before serving.
The juicy tomatoes and peppery greens add freshness without making the recipe complicated.
Make a chicken Parmesan-style variation
Top the cooked chicken with a little extra Parmesan and serve with warm tomato sauce on the side.
Common mistakes to avoid
Skipping the flour: The flour gives the egg something to cling to and helps create an even coating.
Using wet lettuce: Excess water can dilute the dressing and make the salad limp.
Adding dressing too early: Toss Caesar salad just before serving to keep the romaine crunchy.
Frying at very high heat: This can burn the breadcrumbs before the chicken is cooked.
Cutting the chicken immediately: A short resting period helps the juices settle and keeps the meat tender.
Storage & Serving
Chicken Milanese is best served immediately because the breadcrumb crust is at its crispiest when fresh.
For leftovers, place the cooled chicken in an airtight container and refrigerate for up to 3 days.
Store the Caesar salad separately from the chicken whenever possible. Dressed romaine becomes soft and watery after sitting in the refrigerator.

The chicken can be reheated in an oven or air fryer to bring back some of its crisp texture. Heat at about 375°F (190°C) until warmed through.
Avoid microwaving the chicken if a crispy crust is important. Microwave heat can make the breadcrumb coating soft.
The cooked chicken can also be frozen. Wrap individual pieces well and freeze for up to 2 months for best quality.
Thaw frozen chicken in the refrigerator before reheating.
For serving, add fresh lemon wedges and a little Parmesan after reheating. A fresh batch of Caesar salad makes the meal taste much closer to freshly prepared.
Frequently Asked Questions
What is Chicken Milanese?
Chicken Milanese is a thin chicken cutlet coated in breadcrumbs and cooked until golden and crisp. It is traditionally served with fresh lemon and often paired with a simple salad.
Can Chicken Milanese be baked instead of fried?
Yes. Breaded chicken can be baked on a lightly greased baking sheet at 425°F (220°C) until golden and the center reaches 165°F (74°C).
The crust may be slightly less crisp than pan-fried chicken, but baking is a convenient alternative.
Why is the chicken pounded thin?
Thin chicken cooks faster and more evenly. It also creates a larger surface area for the crisp breadcrumb coating.
This is particularly helpful for beginners because it reduces the chance of having a browned coating with an undercooked center.
Can chicken thighs be used?
Yes. Boneless, skinless chicken thighs can be used, although they may need slightly different cooking times.
Pound them to an even thickness and make sure the thickest part reaches 165°F (74°C).
Can the Caesar dressing be made without anchovies?
Yes. This recipe does not use anchovies, making it simple and suitable for cooks who prefer a milder Caesar dressing.
Parmesan, Dijon mustard, garlic, lemon, and mayonnaise provide plenty of savory flavor.
Can the Caesar salad be prepared ahead?
The dressing can be made up to 2 days ahead and stored in the refrigerator.
The lettuce, Parmesan, and croutons can also be prepared separately. Keep everything apart and combine just before serving.
How can the chicken stay crispy after frying?
Place the cooked chicken on a paper towel-lined plate and avoid covering it tightly.
For several pieces, a wire rack set over a baking sheet is even better because air can circulate underneath the chicken.
Can the breaded chicken be prepared ahead of time?
Yes. The chicken can be breaded several hours ahead and refrigerated in a single layer.
Do not stack the pieces, as this can damage the coating and create damp spots.
What can replace Parmesan in the breading?
A hard, finely grated cheese with a similar salty flavor can be used.
However, Parmesan provides the best balance of savory flavor and texture for this particular coating.
Is Chicken Milanese gluten-free?
The recipe as written is not gluten-free because it uses regular flour and breadcrumbs.
For a gluten-free version, use a certified gluten-free all-purpose flour and gluten-free breadcrumbs.
What is the best lettuce for Caesar salad?
Romaine is the classic choice because its sturdy leaves stay crisp under a creamy dressing.
Baby romaine or romaine hearts are especially convenient because they have a fresh, crunchy texture.
Conclusion
Crispy chicken and creamy Caesar salad are a simple combination that delivers plenty of flavor and texture without requiring complicated cooking skills.
The thin chicken cutlets cook quickly, the Parmesan breadcrumb coating turns wonderfully golden, and the lemony Caesar dressing adds a cool, creamy contrast.
With a few basic ingredients and about 40 minutes, this Chicken Milanese can turn an ordinary dinner into a satisfying homemade meal.
Serve it fresh, add plenty of lemon, and enjoy every crunchy, juicy bite. This easy recipe is a great one to keep in the regular dinner rotation and share with family and friends.