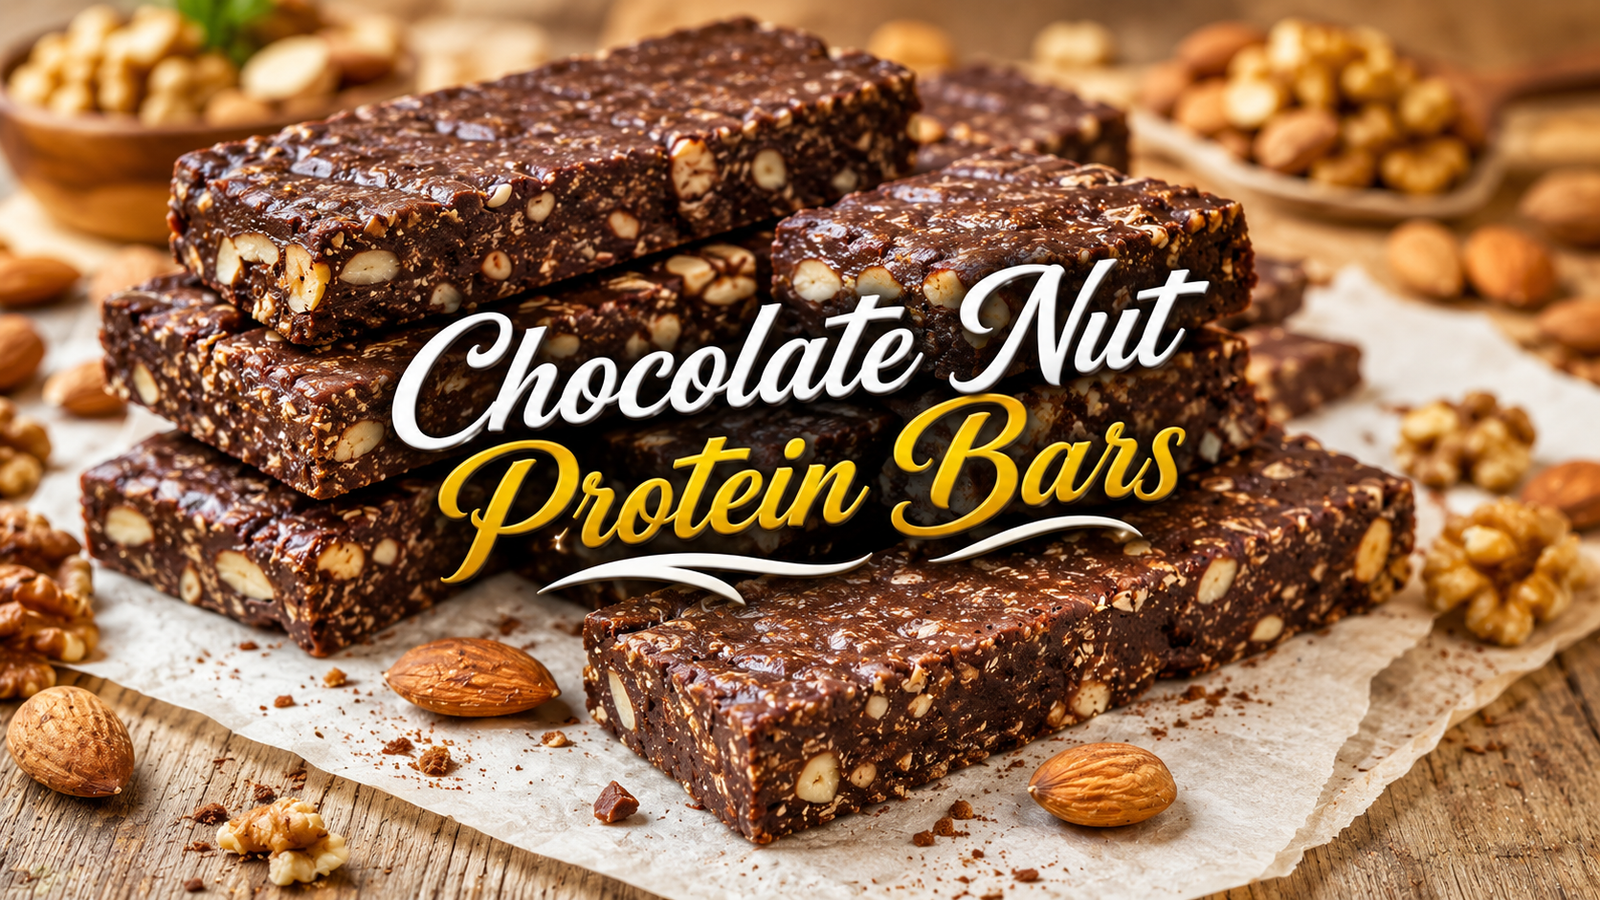
Soft, chewy, rich, and packed with crunchy nuts, these Chocolate Nut Protein Bars are an easy homemade snack with no added sugar. They have a naturally nutty flavor, deep chocolate taste, and satisfying texture without needing complicated ingredients.
These homemade protein bars are perfect for busy mornings, lunchboxes, post-workout snacks, or an afternoon bite when something sweet and filling sounds good. The mixture comes together in one bowl, then chills until firm enough to slice.
Unlike many packaged bars, this recipe keeps things simple. Creamy peanut butter or almond butter helps bind the ingredients, while unsweetened cocoa powder creates a rich chocolate base. Protein powder adds extra staying power, and chopped nuts bring a pleasant crispy crunch.
The best part is the texture. Each bite is soft and chewy in the center with little pieces of crunchy nuts throughout. A short time in the refrigerator turns the mixture into neat, portable bars that are easy to grab whenever hunger strikes.
Ingredients
- 1 cup natural peanut butter — smooth or crunchy
- 1/3 cup unsweetened cocoa powder
- 1/2 cup unflavored or chocolate protein powder — choose a halal-friendly protein powder with no added sugar
- 1/2 cup finely ground rolled oats
- 1/3 cup finely chopped almonds
- 1/3 cup finely chopped walnuts
- 1/4 cup unsweetened shredded coconut
- 2 tablespoons chia seeds
- 1/4 teaspoon fine salt
- 1 teaspoon pure vanilla extract
- 3 tablespoons unsweetened milk — dairy or plant-based
- 2 tablespoons date paste — optional, for a naturally sweeter flavor without refined sugar
Tools Needed
- Medium mixing bowl
- Sturdy spoon or silicone spatula
- 8 x 8-inch square baking pan
- Parchment paper
- Measuring cups and spoons
- Sharp knife
Step-by-Step Instructions
1. Prepare the pan
Line an 8 x 8-inch square pan with parchment paper.
Leave a little parchment hanging over two sides. This makes the chilled mixture much easier to lift out later.
2. Combine the dry ingredients
Add the cocoa powder, protein powder, ground oats, chopped almonds, chopped walnuts, shredded coconut, chia seeds, and salt to a medium bowl.
Stir well until the cocoa powder is evenly distributed and there are no large clumps.
3. Add the nut butter
Add the peanut butter and vanilla extract to the dry mixture.
Stir slowly with a sturdy spoon or silicone spatula. The mixture will begin to look thick and crumbly.
4. Add the milk
Pour in the unsweetened milk one tablespoon at a time.
Mix thoroughly after each addition. The mixture should become soft, thick, and easy to press together without being wet or runny.
5. Add the date paste
If using date paste, add the 2 tablespoons now.
Mix until completely incorporated. The date paste gives the bars a mild caramel-like sweetness while keeping the recipe free from refined sugar.

6. Check the consistency
Take a small amount of the mixture and squeeze it between the fingers.
If it holds together easily, the mixture is ready. If it feels dry and crumbly, add another teaspoon of milk at a time until it reaches the right texture.
Avoid adding too much liquid. The mixture should remain thick enough to form firm bars after chilling.
7. Press into the pan
Transfer the mixture to the parchment-lined pan.
Use the back of a spoon, spatula, or the bottom of a flat glass to press it down firmly and evenly.
Press especially well around the corners and edges. Firm packing helps prevent the bars from crumbling when sliced.
8. Chill
Place the pan in the refrigerator for at least 1 hour.
For firmer bars, chill for 2 hours. The oats and chia seeds will absorb moisture as the mixture rests, giving the bars a pleasantly chewy texture.
9. Slice
Lift the chilled mixture from the pan using the parchment paper.
Place it on a cutting board and cut into 10-12 bars, depending on the preferred size.
For clean edges, use a sharp knife and wipe it between cuts if needed.
10. Serve
Serve the bars chilled or let them sit at room temperature for a few minutes before eating.
The chilled version is firmer, while a slightly warmer bar becomes softer and creamier.
Tips & Variations
Use the right nut butter
Natural peanut butter works especially well because it adds creaminess and helps hold the bars together.
Almond butter is an excellent alternative if a milder nut flavor is preferred. Cashew butter also works and creates an especially smooth, creamy texture.
Choose a nut butter made with simple ingredients and check the label for added sugar if keeping the recipe strictly no-added-sugar.
Keep the protein powder simple
Protein powders vary considerably in sweetness, absorbency, and texture.
An unsweetened or lightly flavored powder works best. A halal-friendly protein powder should be selected according to its ingredient and certification information.
Chocolate protein powder gives the bars a deeper cocoa flavor, while unflavored protein powder lets the nuts and cocoa stand out more clearly.
Do not skip the ground oats
Ground rolled oats help create structure and give the bars their soft, chewy texture.
If the oats are left too coarse, the bars may be harder to press together. For a smoother texture, pulse rolled oats briefly in a food processor before measuring.
Chop the nuts finely
Large nut pieces can make the bars difficult to slice.
Small pieces spread the crunch throughout every bite and help the bars hold together better.
For extra texture, keep a small portion of the almonds and walnuts slightly larger than the rest.
Adjust the texture carefully
If the mixture is too dry, add milk very gradually.
If it becomes too wet, add a tablespoon of ground oats or protein powder and mix again.
The ideal mixture should feel similar to thick cookie dough. It should press together easily without sticking excessively to the hands.
Make them extra chocolatey
For a stronger chocolate flavor, add an additional tablespoon of unsweetened cocoa powder.
Because cocoa powder can make the mixture drier, add a small splash of milk if necessary.
For more chocolate texture, unsweetened cocoa nibs can also be added, provided they fit the preferred flavor and ingredient requirements.
Try different nuts
Almonds and walnuts provide a great balance of crunch and richness, but other nuts can be used.
Finely chopped pecans, pistachios, or cashews can replace either nut. For a more varied texture, use a combination of three different nuts.
Add warm spices
A small pinch of cinnamon can make the chocolate flavor taste warmer and fuller.
A tiny amount of cardamom can also work beautifully with chocolate and nuts, especially for a more aromatic variation.
Make a seed-based version
For a nut-free variation, replace the peanut butter with sunflower seed butter and replace the chopped nuts with pumpkin seeds and sunflower seeds.
Check all packaged ingredients for possible cross-contact if the bars are being prepared for someone with a serious allergy.
Common mistakes to avoid
Adding too much milk: This can make the bars soft and difficult to slice.
Using very dry nut butter: Natural nut butter can separate during storage. Stir it thoroughly before measuring.
Not pressing the mixture firmly: Loose packing can cause crumbly bars.
Cutting before chilling: The mixture needs time to firm up.
Using sweetened cocoa or protein powder: Always check labels when the goal is no added sugar.
Storage & Serving
Store the finished bars in an airtight container in the refrigerator.
Place parchment paper between layers if the bars are stacked. This prevents them from sticking together.
They can generally be kept refrigerated for up to 7 days when prepared with fresh ingredients and stored properly.

For longer storage, wrap individual bars in parchment paper or food-safe wrap and place them in a freezer-safe container or bag.
Frozen bars can be stored for up to 2 months for best quality. Thaw a bar in the refrigerator or let it sit at room temperature for a short time before serving.
These bars are delicious straight from the refrigerator because the texture is firm and chewy.
For a softer texture, allow one bar to sit at room temperature for about 10 minutes before eating.
Serve alongside fresh fruit, plain yogurt, or a glass of milk for a simple snack. They also make a convenient addition to a packed lunch or breakfast box.
Frequently Asked Questions
1. Are these Chocolate Nut Protein Bars completely sugar-free?
They contain no added refined sugar. However, the optional date paste contains naturally occurring sugars. For a recipe with no added sweetener at all, simply leave out the date paste.
2. Can peanut butter be replaced?
Yes. Almond butter, cashew butter, or sunflower seed butter can be used. Each option changes the flavor slightly, but the bars should still hold together when the consistency is adjusted properly.
3. Why are the bars falling apart?
The mixture may be too dry, or it may not have been pressed firmly enough into the pan.
Add milk one teaspoon at a time and mix thoroughly. Then press the mixture very firmly before chilling.
4. Can these bars be made without coconut?
Yes. Simply replace the shredded coconut with an additional 1/4 cup of ground oats.
The bars will have a slightly less chewy texture but should still turn out well.
5. Can rolled oats be used without grinding?
Yes, but the finished bars will have a more textured, rustic bite.
Ground oats create a more cohesive and smooth bar, while whole rolled oats provide extra chewiness.
6. What protein powder works best?
Unflavored or chocolate protein powder works well.
For a halal-friendly recipe, check the product label and certification where applicable, especially if the protein powder contains flavorings, enzymes, or other specialty ingredients.
7. Can the bars be made without protein powder?
Yes, although the nutritional profile and texture will change.
Replace the protein powder with additional ground oats, adding them gradually until the mixture reaches a thick cookie-dough consistency.
8. How can the bars be made firmer?
Chill them for longer and make sure the mixture is firmly packed into the pan.
Keeping the bars refrigerated also gives them a firmer texture than serving them at room temperature.
9. Can these bars be frozen?
Yes. Wrap individual portions and store them in a freezer-safe container for up to 2 months for best quality.
Thaw in the refrigerator or at room temperature before serving.
10. Can the recipe be doubled?
Yes. Double all ingredients and use a larger pan, or prepare two 8 x 8-inch pans.
Avoid making the mixture excessively thick in a single small pan, as very thick bars can be difficult to slice evenly.
Conclusion
These Chocolate Nut Protein Bars are a simple homemade answer to busy snack times. The combination of creamy nut butter, rich cocoa, chewy oats, protein powder, and crunchy nuts creates a satisfying texture in every bite.
There is no complicated baking process and no need for special equipment. Just mix, press, chill, and slice.
Keep a batch in the refrigerator for quick breakfasts, lunchbox snacks, or an easy afternoon treat. With simple swaps such as almond butter, cashews, sunflower seed butter, or extra oats, the recipe can easily fit different preferences.
Give these rich, chewy bars a try, and share them with family and friends who enjoy easy homemade snacks.